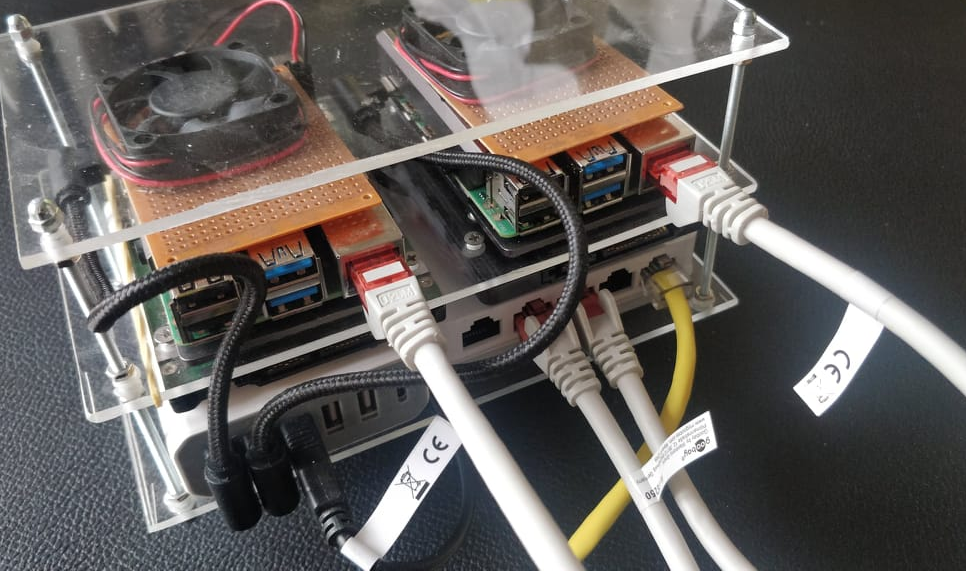
Preparing my Raspberry Pi
August 18 2022This guide is for you who wanna start learning about the Raspberry Pi and considers creating a small cluster to work with using the Raspberry Pi. I'll cover how to generate a key pairs. And how to apply these keys using the Raspberry Pi Imager, finally how we gonna prepare the SD card before booting and connecting to the Raspberry Pi with a secure connection using Termius. Lastly we'll gonna assign the Raspberry Pi a static IP address on our local network.
Generating key pairs
Open your Terminal/Command-propt (Windows users must open it as Administrator) and enter the following command.
ssh-keygenThis will propt you for three inputs:
- Path and name of the key pairs (keypairs)
- Passphrase
- Repeat Passphrase
Make sure to remember your Passphrase and NEVER use it twise!
Now it should have generated two files {name} and {name}.pub. I found mine in the windows/Systems32 folder.
Using Raspbian
Please find the {name}.pub file you generated in previous step, we'll need it's content for this section.
Go download the Raspberry Pi Imager if your haven't already. https://www.raspberrypi.com/software/
Open Raspberry Pi imager and select the OS you want I picked the Raspberry Pi OS lite (64bit). Select your SD card or SSD (Please check if your Pi' is SSD compatible online).
Now press the small cog icon to enter the advanced options.
I'll configured mine with the following settings:
- Set hostname: Raspberry1
- Enable SSH
- Allow public-key authentication only: enter the content of your {name}.pub file
- Set username and password
- Username: Raspberry1
- Passowrd: it's_a_secret;)
You can configure Wireless LAN as well however since my Pi will be connected over Ethernet I didn't have to, configure this part.
Once you have configured everything
- Press save
- Press Write
Wait for it to finish.
Configure boot partition
Once Raspberry Pi has been written to your SD or SSD, navigate to the newly created partition named boot.
Please create a new file with no type, just name the file "ssh", this will enable the SSH connection to the Raspberry Pi once it boots.
Next we'll need to find the file named cmdline.txt, which we'll need to edit.
_
NOTE: Since I am using an SSD with a JMicron chipset I need to add the following to the beginning of my file. You can check if you have a JMicron using the following command on Linux.
lsusb
I didn't find a good way to see do this on windows I recommend using the Pi with and SD card and check the usb SSD from there.
usb-storage.quirks={VendorID}:{ProductId}:uusb-storage.quirks=152d:0579:uIn order to enable your Raspberry Pi for k3s please insert the following after rootwait.
cgroup_memory=1 cgroup_enable=memoryYour are now ready to remove your SD card or SSD and insert it into the Raspbery Pi. :D
Connecting to the Raspberry Pi
There are many ways to connect using SSH you can find multiple tools to do so online, I will connect to my Pi using Termius, this works on Windows, Linux and MacOS.
In order to connect to your Pi use connect to the Pi with the {hostname}.local (Raspberry1.local) as the IP address. Connect to the Pi using the private key you generated in Generating key pairs section.
In Termius you can create a keychain where you need to define the content of the private and the public key, together with the password for the keypairs.
You can use this when accessing the Pi and termius connects securly.
Static IP
Once you connected I highly recommend setting a static IP. you do so by editing the dhcpcd.conf file, use the following command to edit the file.
sudo nano /etc/dhcpcd.confEnter the following in the bottom of the file, please fill in the IP address you want the Raspberry Pi to have (xxx.xxx.xxx.xxx). The default gateway (yyy.yyy.yyy.yyy). Finally the subnetmask (zzz.zzz.zzz.zzz). I set my interface to eth0 because my Raspberry Pi is connected with a ethernet kabel.
interface eth0
static ip_address=xxx.xxx.xxx.xxx/24
static routers=yyy.yyy.yyy.yyy
static domain_name_servers=zzz.zzz.zzz.zzz
Lastly do a reboot of the Raspberry Pi using the following command.
sudo rebootNow in termius try to change the IP to the IP you just defined and you should connect to the Pi using the newly static IP.